How do you take any Halloween costume or clothing and turn it into a scary zombie costume? If this particular thought has crossed your mind, you're in luck, because we're going to show you how! Zombies have been a part of pop culture for quite some time, and as a result there are a number of zombie events such as zombie runs, zombie pub crawls and even zombie-themed parties. Whatever the reason, it's much more fun to create your own unique zombie costume! Anyone can simply buy a zombie costume, but if you want to stand out from the crowd of undead walkers, follow this zombie costume tutorial to see how to distress a costume and do some gory zombie makeup.
See How We "Zombified" a Costume!
No guts, no gore-y.
We took a Halloween costume and dirtied it up, distressed and tore it, and made it look like a bloody mess. (Zombies never have been known for their cleanliness, but they're a lot of fun!) If you need any clarification on individual steps from the video, check out our zombie Q&A below.
How Do I Make a Zombie Costume Look Dirty?
Let's face it: zombies are clumsy. They walk into things, they fall over and they get stuck in odd places. They also don't bathe, wash their clothes or take cover from the weather. After a while, their clothing is going to be dirty, grass-stained and possibly moldy. In order to make the costume sufficiently dirty-looking, fill a spray bottle with coffee and spray it all over the costume and any accessories. Make sure to do it in a way that it's fairly blotchy and uneven with some areas more dirty-looking than others. (Zombies never do anything perfectly, after all, including the soiled nature of their clothing.) You can also use some brown, dirt-colored spray paint to make even darker, dirtier areas of color. Spray from random distances, but don't spray too close that you make any suspicious-looking spray stains. You can also spray with a grassy green color in random patches to make it look like your zombie has some grass stains and moldy spots. Once your costume has been dirtied to your satisfaction, you will want to give it some time to dry before distressing it.
How Do I Make a Zombie Costume Look Ripped and Torn?
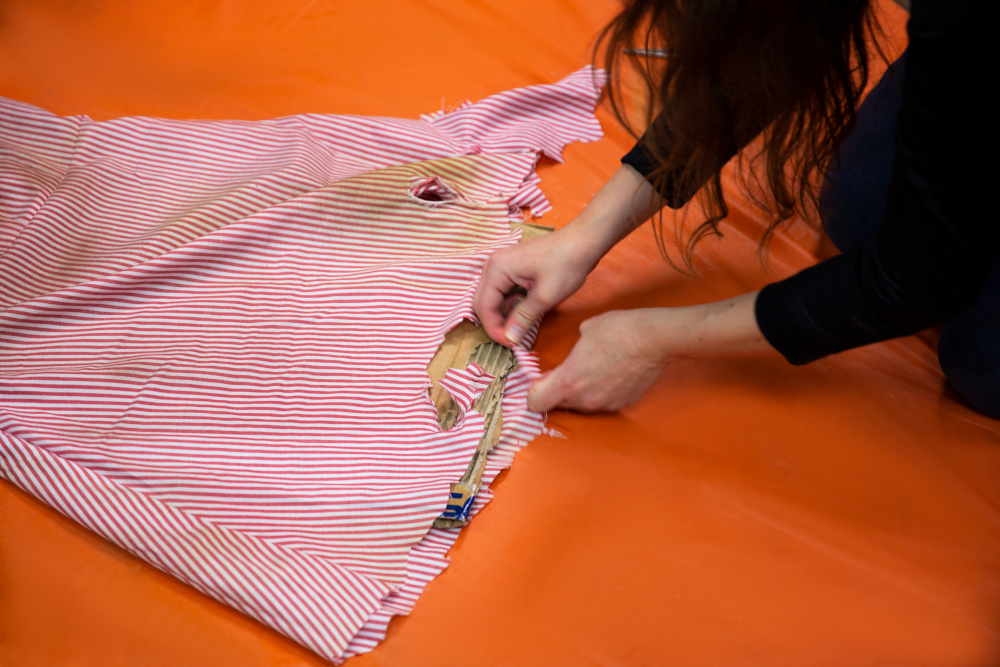
Now comes the fun part! (As if making it look dirty wasn't fun enough already.) Take a good look at your costume and decide where you want to make big rips or cut something off completely. Keep in mind that your zombie costume is going to tell a a story, and you're going to want to remember it throughout the rest of the process. For example, if a zombie hunter cut or shot you (in zombie form, of course), you'll want to put holes into those parts of your costume. When the time comes to add blood and later makeup, continue to add to those places on the costume. A good place to start for other distressed areas will be the hems of your costume, whether it's the bottom of a shirt, dress or pants. Once you have your main cuts in place, make other smaller holes and rips nearby. Finish off all of your freshly cut edges with some sandpaper so they look distressed.
How Do I Make a Costume Look Bloody?
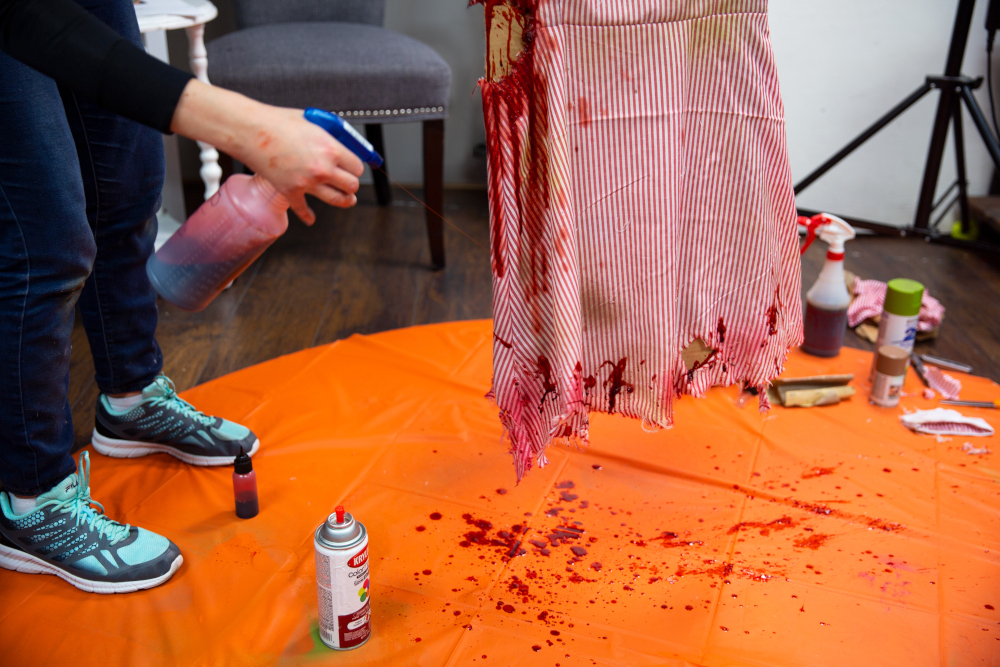
To give the blood on our costume more depth, we actually did a two-part blood technique. Our zombie has been out in the elements for a while so some of the blood has washed into her clothing. Zombies seem to have a problem with clotting, so we chose to have the large wounds on her neck and side still dripping. (Perhaps she even ran afoul of a zombie hunter and got some fresh wounds!) In either case, we started off with a base of some red spray paint and fake blood in a spray bottle and a small squeeze bottle. If you have any accessories that layer over the main articles of clothing, take care to keep major blood spots consistent. We put a large patch of dripping blood down the front of the apron as if it had run down her dress and apron while it was being worn. Allow this first layer of blood to dry. Afterwards, mix red, brown and a little black acrylic paint together in a squeeze bottle. We used some of the extra fake blood to water it down, but you can use a little water instead if you wish. Go back over the costume and add the "newer" blood spots on top, making extra sure to put blood around rips for fresh wounds. Once your garment is as bloody as you desire, allow it to hang dry once again.
What Do I Need for a DIY Zombie Costume?
Be ready to make a mess!
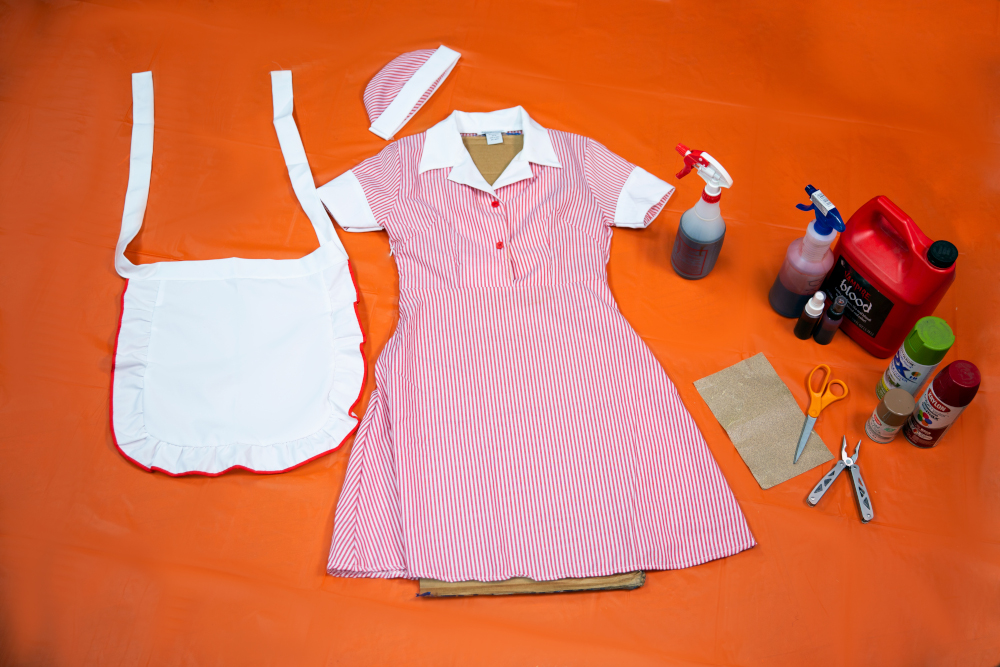
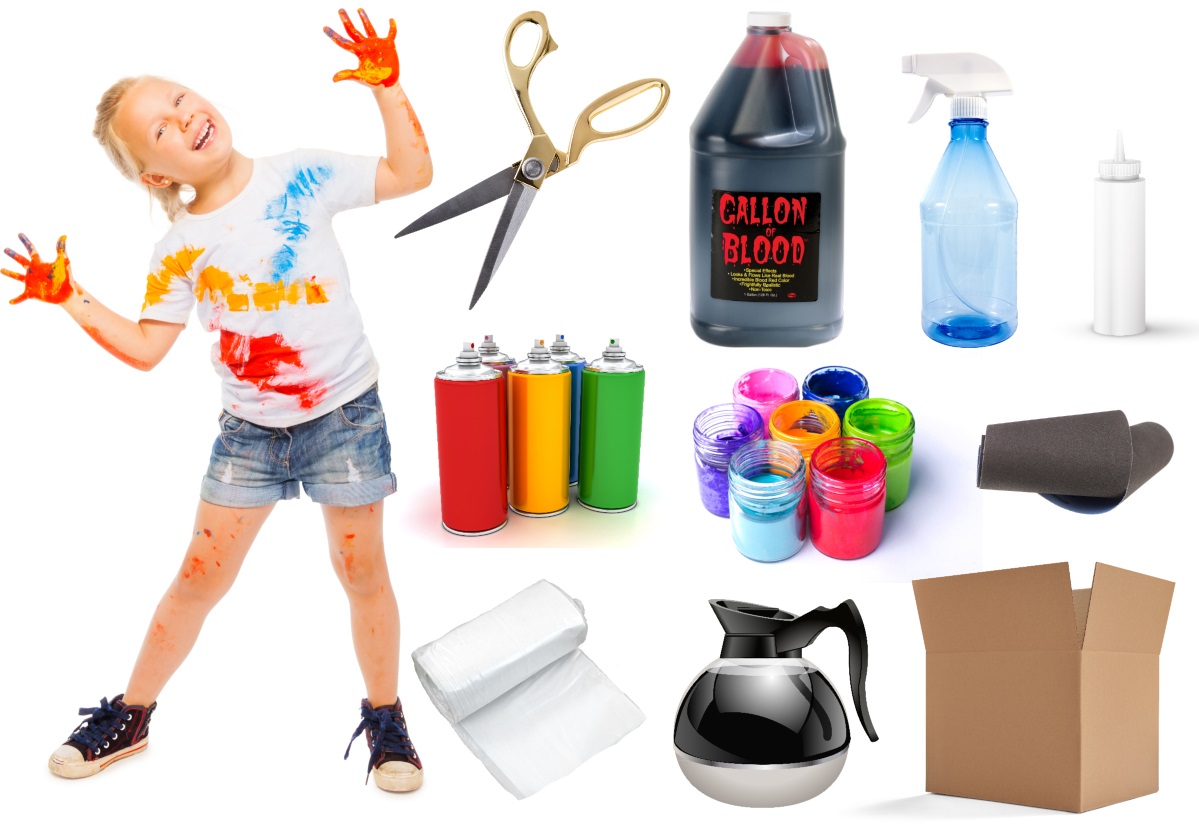
You're going to need a few supplies before you tackle your DIY zombie costume project. Many of these items you might even have at home, especially if you're crafty. Make sure you have sufficient time before the event to allow your costume to dry properly! Two or three days should suffice.
- costume (that's kind of important)
- scissors
- cardboard or a shirt board
- plastic drop cloth for the floor (or more cardboard)
- fake blood
- spray bottle
- small squirt bottle or sauce bottle
- coffee (dark brew or double-brewed so the color is stronger)
- spray paint
- dirt brown
- grass green
- blood red
- sandpaper
- paint clothes or an apron (optional, as you can see we didn't use these)
- acrylic paint
- red
- brown
- black
- somewhere to let it hang-dry
- creativity!
More Gore Special Effects Techniques!
You're going to look drop-dead gore-geous!
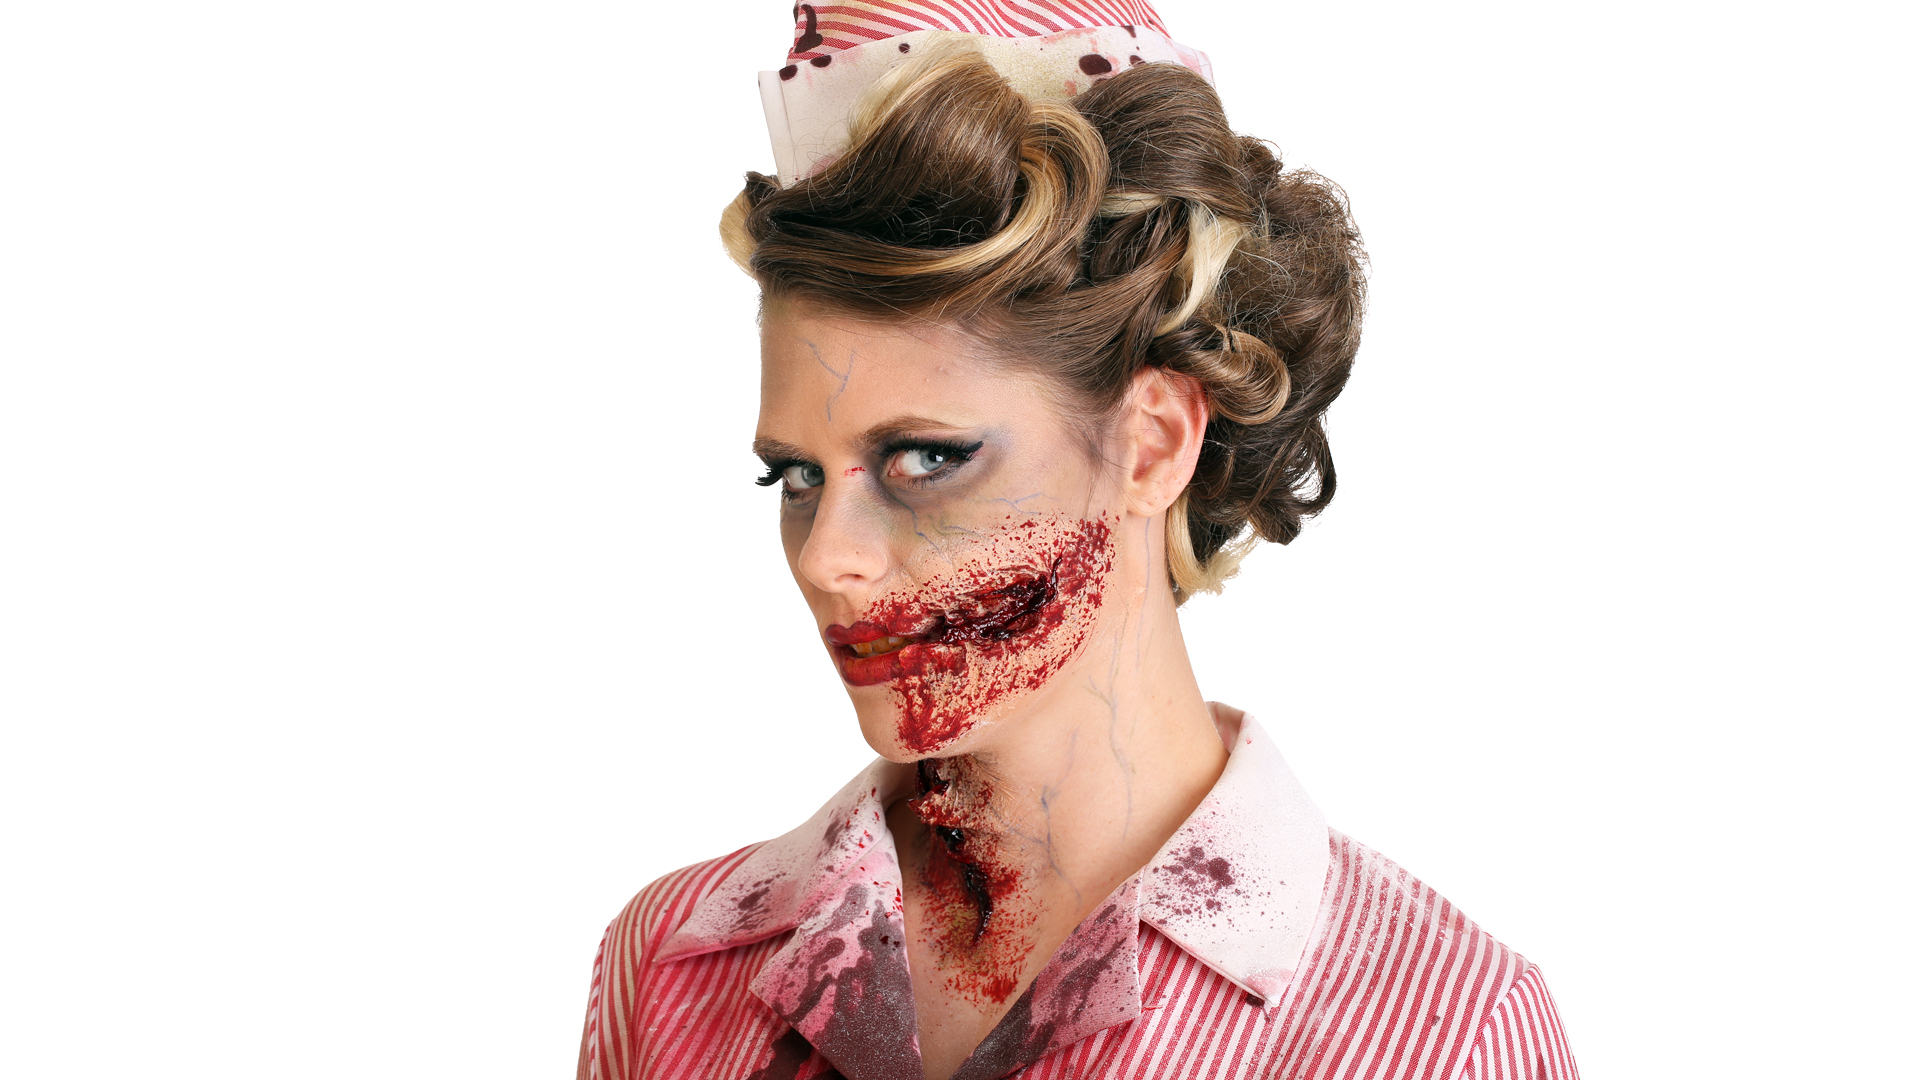
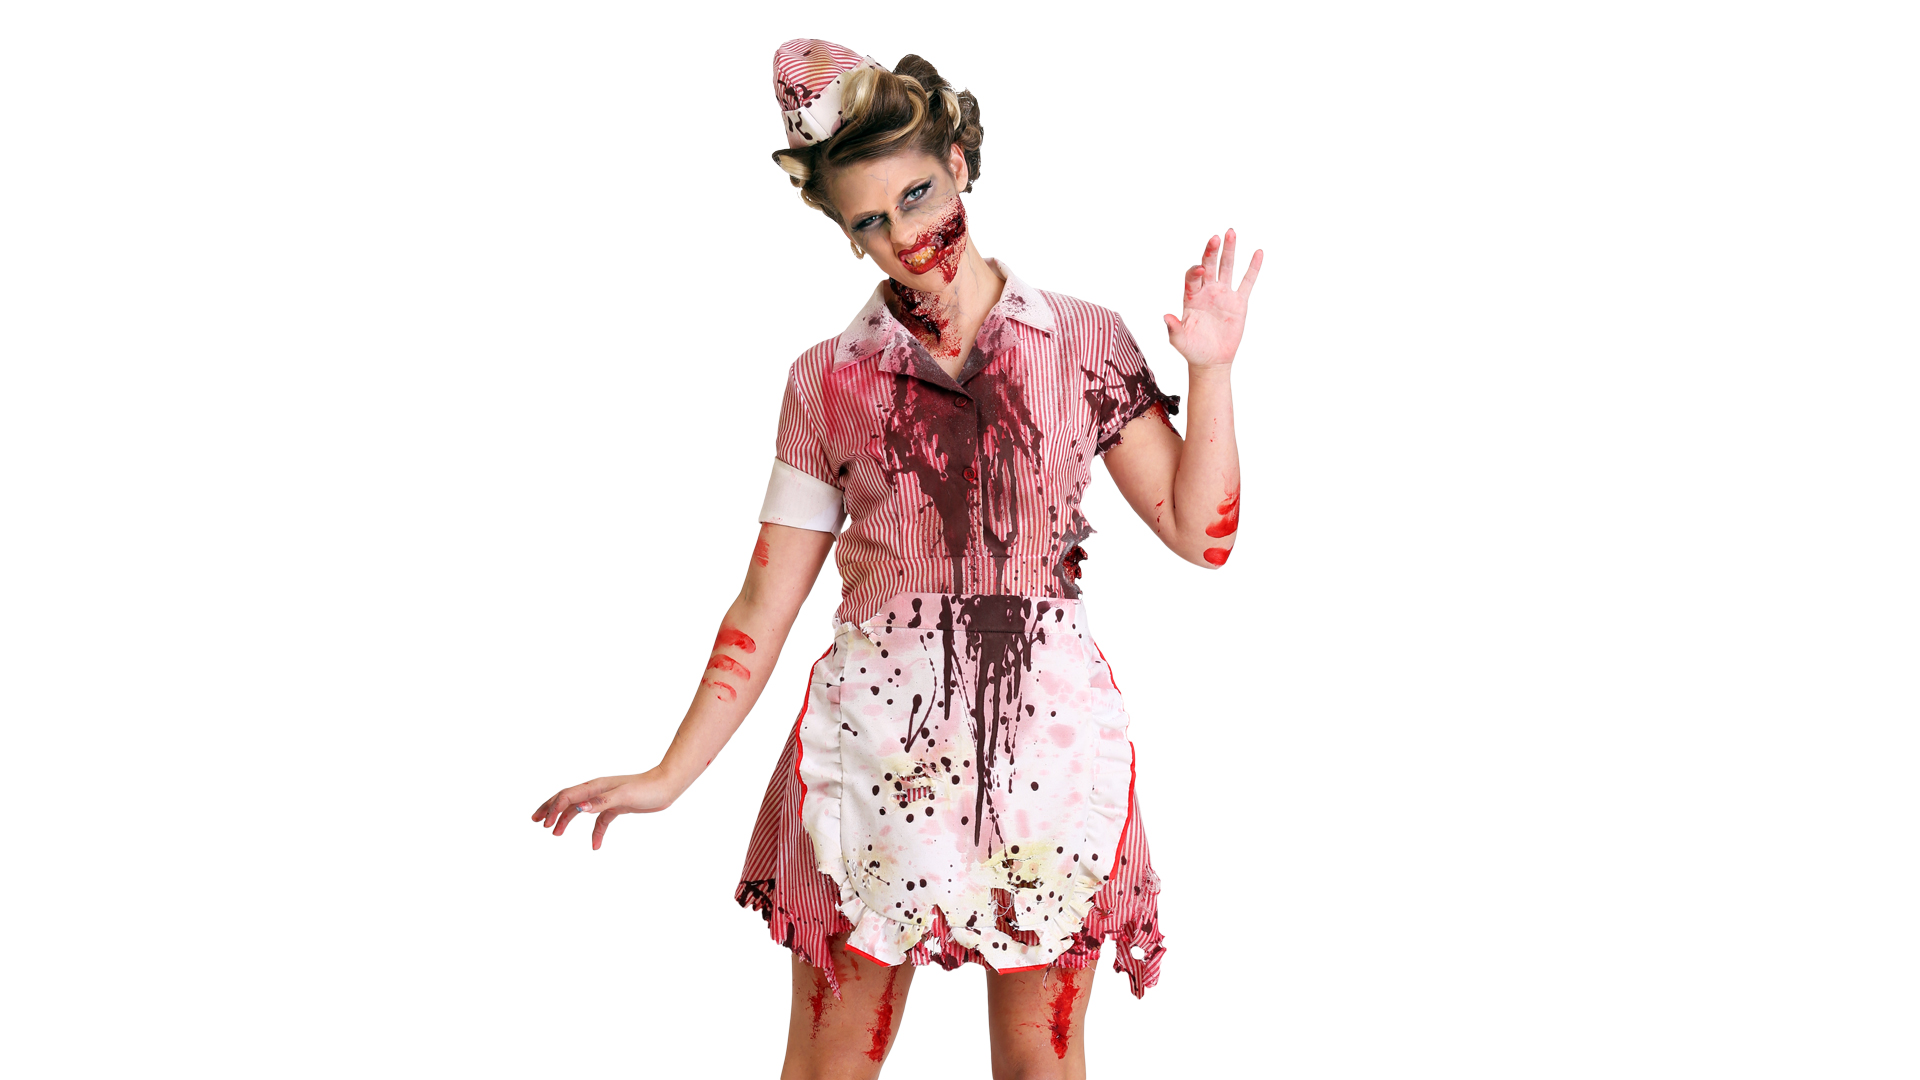
Because our zombie is wearing a vintage car hop costume, we went for a mixed glam and gore makeup look. While we didn't make all of her skin green, we did put a little green and purple into some heavy eyeshadow and eye makeup to give her eyes a sunken, undead appearance. We also put some faded veining around her eyes like she was a zombie starving for her next serving of brains! You can use these techniques elsewhere on your costume, too. Remember that gravity will have an affect on your bloodiest areas as well: with so much blood dripping down her front, we also added a few spots of blood onto her legs and shins as if it had dripped off her clothing. (If you're willing to go that extra mile, you can even add some blood spots on your shoes!)
What Makeup Should I Use as a Zombie?
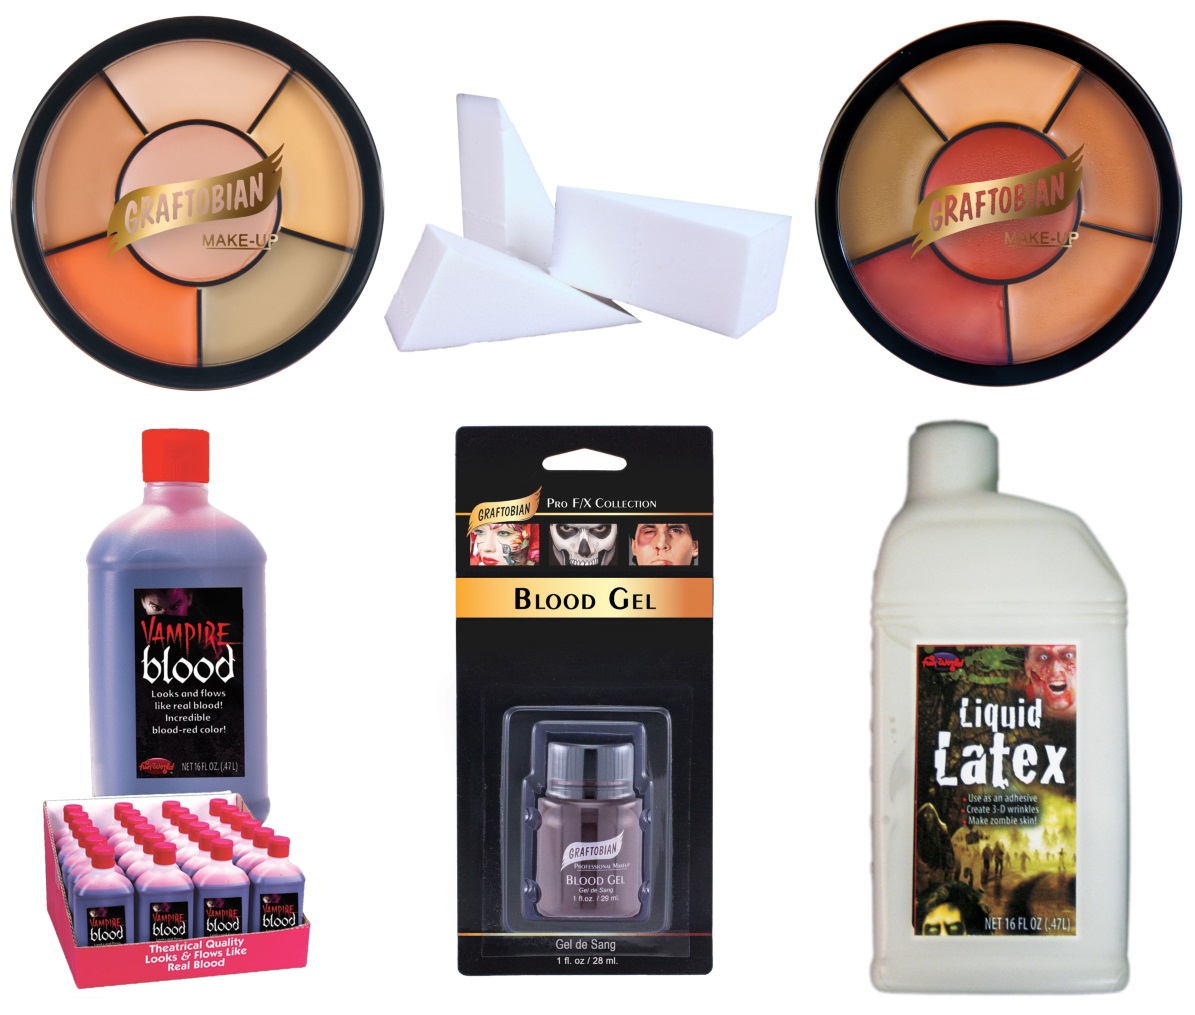
| Light Skin Tone Makeup Wheel | Mehron Makeup Sponge 6-Pack | Dark Skin Tone Makeup Wheel |
| Pint of Blood | Graftobian Blood Gel | Liquid Latex Pint Bottle |
First, you will want to determine what type of zombie you are portraying. Are you a pin-up zombie? Are you looking to be really gory? Were you looking to be more of the traditional green-skinned zombie variety? Many times, the costume will help you decide what type of zombie you are. We used this women's vintage car hop costume, so we decided to mix vintage pin-up glam and gore makeup. As a reminder, before doing your own zombie makeup, make sure that you or the person you are applying makeup to aren't allergic to latex or any of your special effects makeup products. To test the makeup items, apply a small portion to the back of the wrist of your zombie-to-be and wait for a few minutes to make sure there isn't any itching, burning or rashes. Once it has been determined that the products will not irritate your zombie, you may proceed with the makeup!
Check Out the Final Look!
You're next!
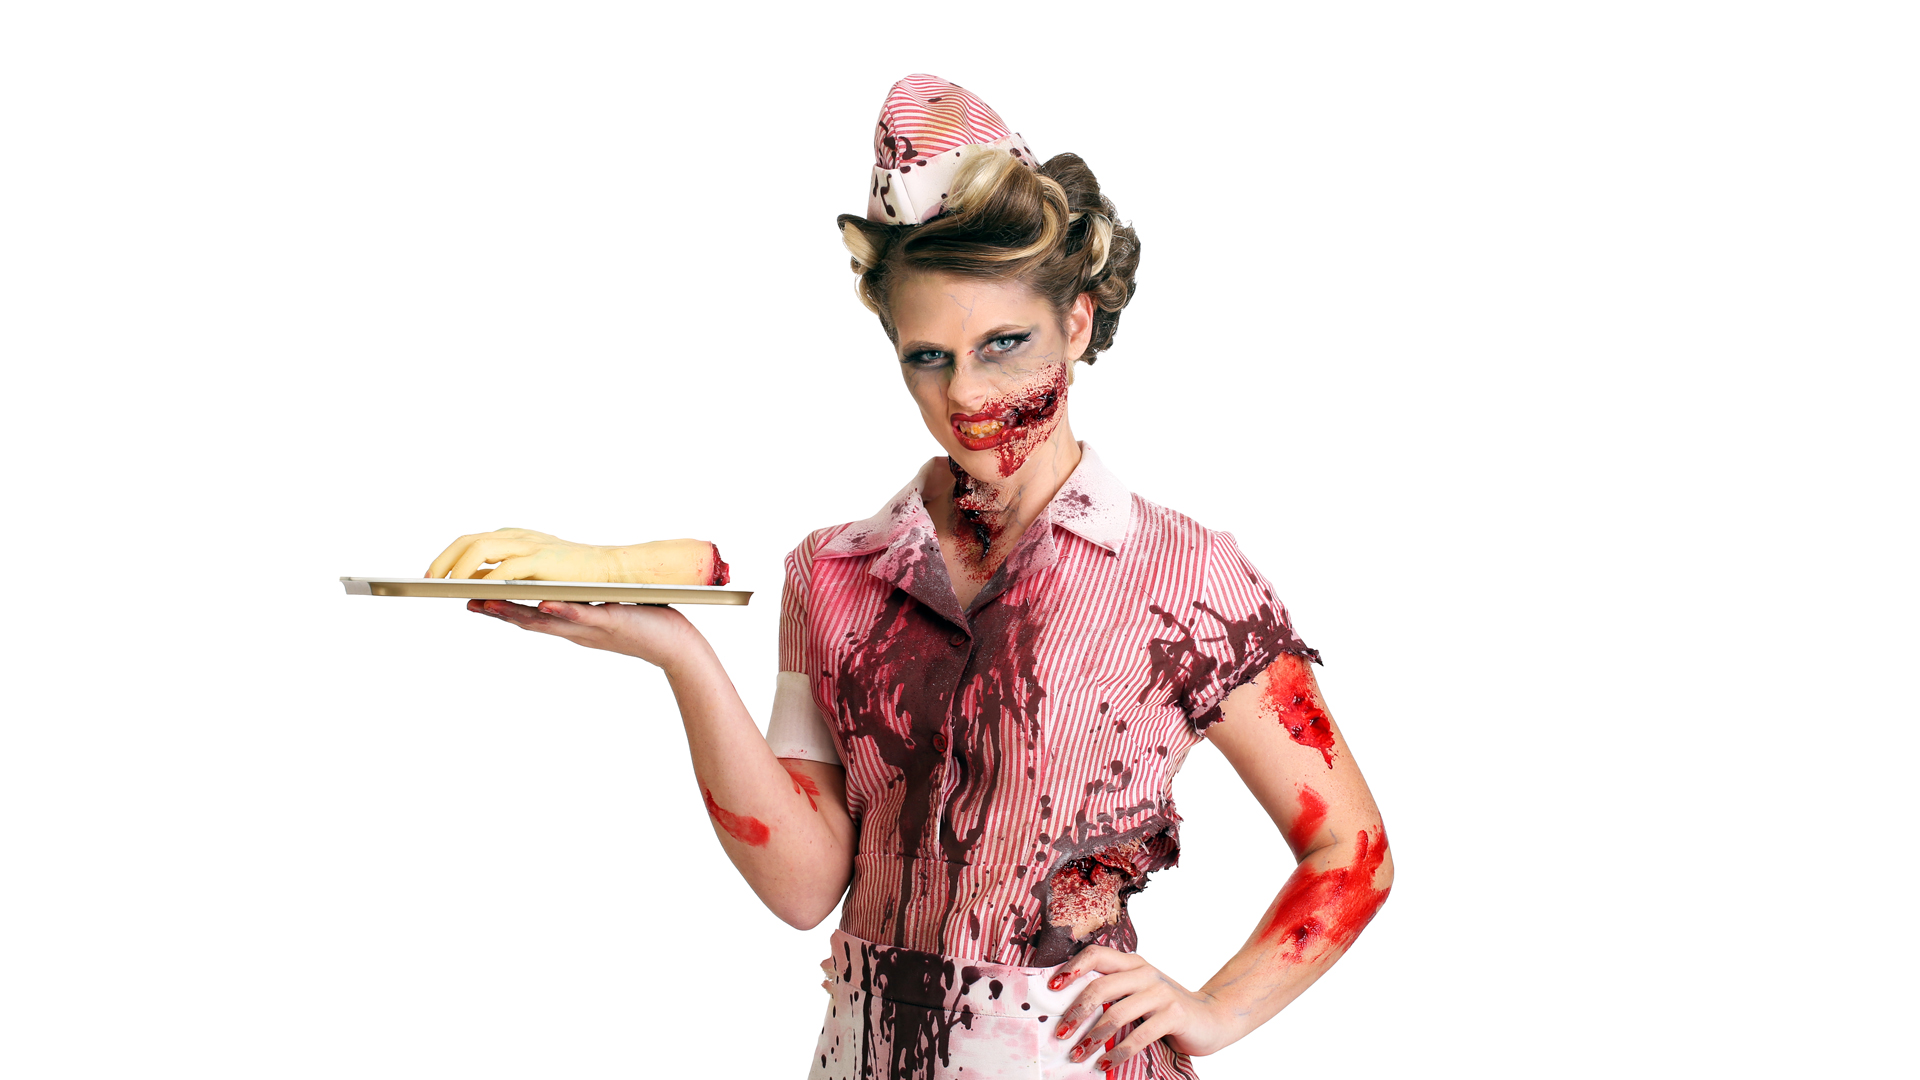
Who ordered the severed hand?
Rule #1: Cardio
We hope that you found this DIY zombie costume and makeup guide informative! Have you ever made a zombie costume before? Have you wondered how to do your own zombie makeup? We would like to see the results of your undead endeavors! Feel free to share your DIY zombie costumes with us in the comments. Get ready to scare up some fun!